Getting started with YouTube? You’re probably wondering what software top creators use to edit their videos.
The truth is, picking the right editing software can make the difference between a polished video and one that looks amateur.
Here’s a surprising fact: Most successful YouTubers don’t stick to just one editing program. They often switch between different tools based on their needs, budget, and skill level.
While MrBeast’s team might use Adobe Premiere Pro for their complex edits, smaller creators often create great content with free software like DaVinci Resolve.
In this guide, we’ll break down: the most popular editing software among YouTubers, budget-friendly options that actually work, what to look for when choosing your editing tool, and how different YouTubers pick their software
Whether you’re just starting out or looking to upgrade your editing game, you’ll find exactly what you need to know.
Let’s dive into the tools that help YouTubers turn raw footage into engaging content their viewers love to watch.
Want to take your videos to the next level?
Factors YouTubers Consider When Choosing Software
When it comes to video editing software, every YouTuber has different needs. From daily vloggers to cinematic storytellers, the ideal software can vary, but here are some common factors that most creators weigh:
A lot of YouTubers want something that’s straightforward. They need software that doesn’t take weeks to learn—something with a user-friendly interface that allows them to quickly add transitions, text, and effects without a headache.
For many, especially beginners, ease is a big priority.
YouTube videos come in all styles, so the editing tools need to match that. Some software is packed with advanced features for effects, color correction, audio editing, and more.
Those who create cinematic or high-quality educational content often look for software with extensive editing features to polish their work.
Editing can be time-consuming, and nothing kills momentum like laggy software. Many YouTubers look for software that’s optimized for fast rendering and smooth playback, so they can edit and export videos quickly.
This is especially important for creators on tight schedules who upload frequently.
From free software like DaVinci Resolve’s basic version to pricier ones like Adobe Premiere Pro, budget plays a big role.
New creators often start with free or lower-cost options and only invest in paid software once they start seeing returns on their channel.
Some YouTubers work across multiple devices or might collaborate with others, so they look for software that’s compatible with different operating systems (Windows, Mac, etc.).
This flexibility is especially useful if they’re editing on both a laptop and desktop.
YouTube requires specific file formats for the best quality. Creators often consider software that makes it easy to export in the necessary format and quality, and that can handle large files efficiently.
Video editing software with a strong user community, tutorials, and online resources can make a big difference.
If they hit a roadblock, YouTubers want to know they can find quick solutions through tutorials or forums. Software like Premiere Pro and Final Cut Pro tend to have extensive online communities.
Top Video Editing Software Choices For YouTubers
Let’s look at the most common editing software you’ll find in a YouTuber’s toolkit. These programs have proven themselves reliable for creating quality content, from simple vlogs to complex productions.
1. Adobe Premiere Pro
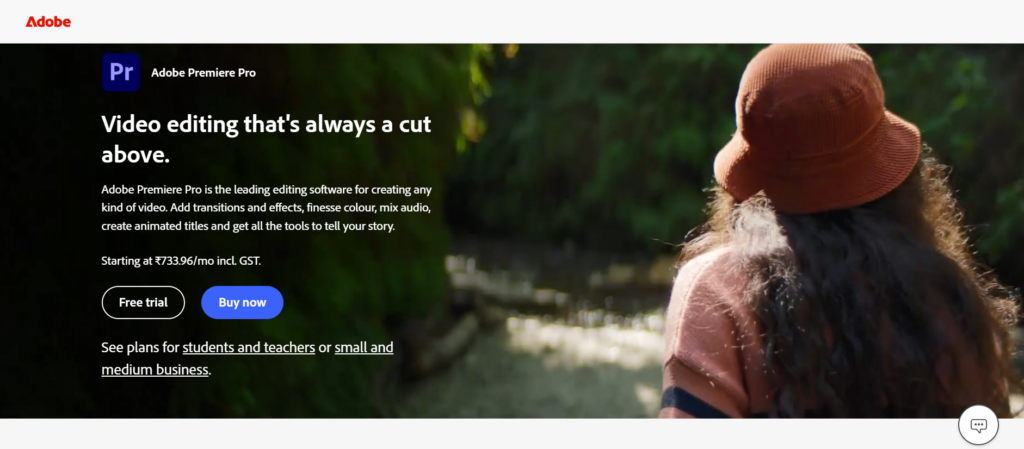
Many full-time YouTubers choose Premiere Pro for their editing work. It handles everything from basic cuts to advanced effects, making it suitable for any content type.
The software works smoothly with other Adobe apps like After Effects and Photoshop, which helps when you need graphics or special effects.
Monthly pricing starts at $24.71, and while it takes time to learn, many creators find it worth the investment. Tech reviewers like MKBHD and gaming channels like JackSepticEye use Premiere Pro for its reliability and advanced features.
Why YouTubers Love It?
Premiere Pro gives creators total control over their edits, making it a go-to for pros. But heads up—it comes with a subscription fee, and the learning curve is steep if you’re just starting out.
2. Final Cut Pro
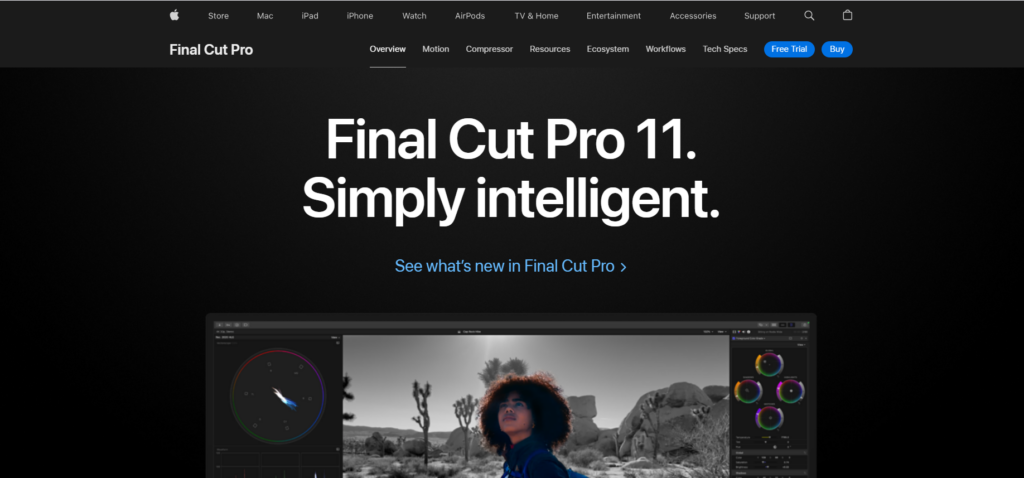
Apple’s editing software is popular among Mac users for good reason. It’s fast, stable, and comes with a one-time payment of $299 rather than a subscription.
YouTubers like Peter McKinnon praise its speed when handling 4K footage. The magnetic timeline takes some getting used to, but many creators find it speeds up their workflow once they learn it. One downside: it’s only available for Mac users.
Why YouTubers Love It?
The combination of powerful features and Mac optimization means faster edits without sacrificing quality. Plus, you pay once, and it’s yours for life—a big perk over subscription models.
3. DaVinci Resolve
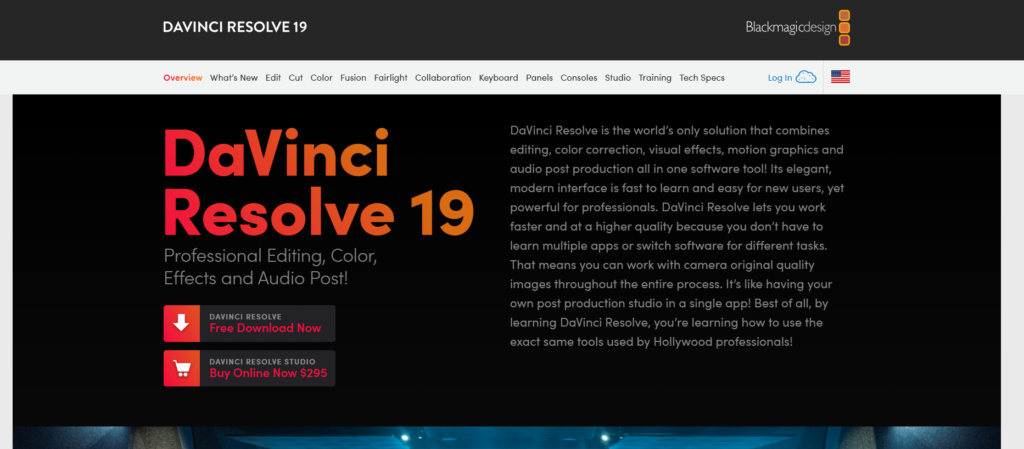
This software has gained lots of fans among YouTubers recently. The free version offers more features than most paid programs, with tools for editing, color correction, and audio work.
Many creators start with the free version and upgrade to the $295 Studio version only when they need advanced features.
Tech channels like Linus Tech Tips use it for its powerful color grading tools. The learning curve is steeper than some other options, but free tutorials make it easier to learn.
Why YouTubers Love It?
It’s the real deal for color grading, and it’s packed with features, even for free. However, the interface might seem intimidating to beginners, so it’s best for those willing to explore.
4. Vegas Pro
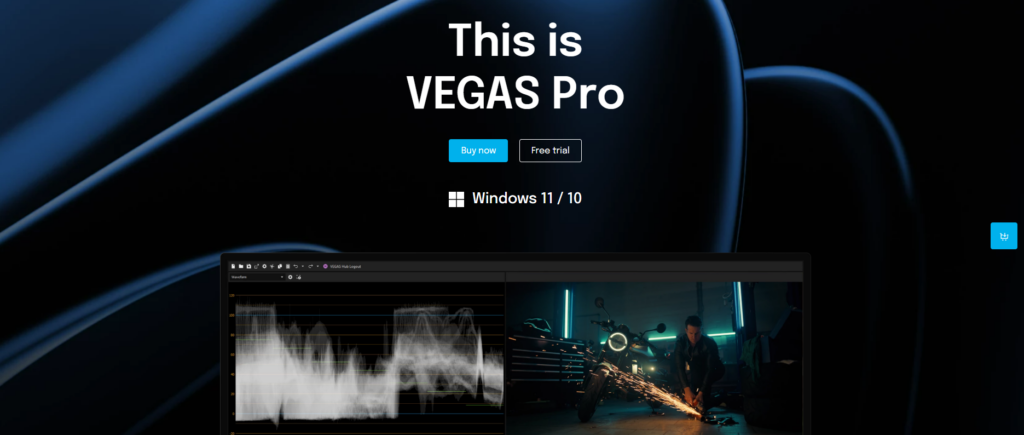
Vegas has been around for years and maintains a loyal following among gaming YouTubers. It’s known for being easier to learn than Premiere Pro while still offering professional features.
The software costs between $95.88 and $119.88/year subscription depending on the version you choose. Many gaming channels like PewDiePie started with Vegas Pro because of its simple interface and solid features.
Why YouTubers Love It?
Vegas Pro’s intuitive interface and solid audio editing tools make it ideal for those who want a professional edit without a steep learning curve.
5. iMovie
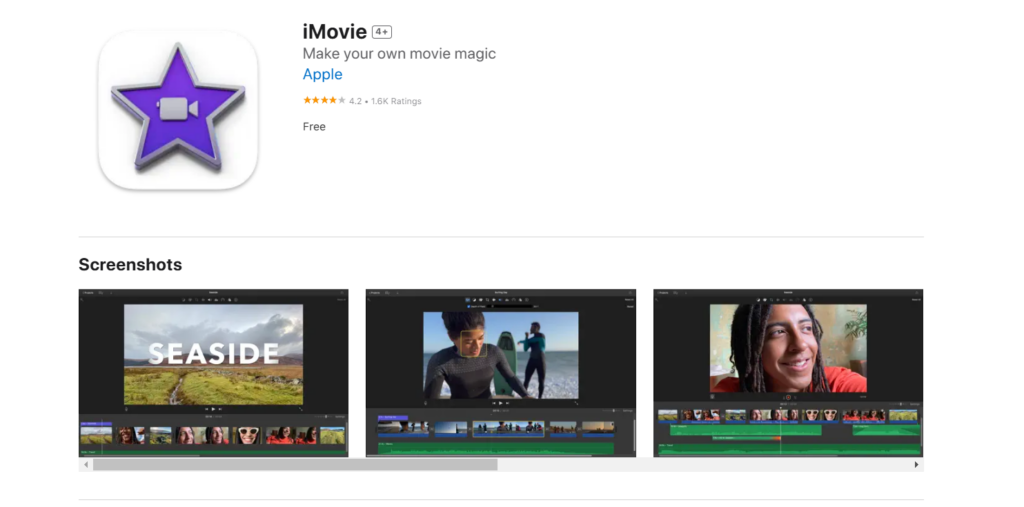
For beginners on Mac, iMovie offers a free starting point. While it lacks advanced features, it covers the basics well enough to create good YouTube content.
Many successful creators started with iMovie before moving to more advanced software. It’s great for simple vlogs, tutorials, and basic editing tasks.
The best part? It comes free with Mac devices and offers an easy path to Final Cut Pro when you’re ready to upgrade.
Why YouTubers Love It?
It’s straightforward, free, and has all the basics. Just keep in mind, though—it’s limited in features, so you might eventually outgrow it as your channel develops.
Other Noteworthy Mentions
- Filmora: A great budget-friendly option for beginners and intermediates. It’s intuitive, with tons of built-in effects and transitions, perfect for those who want quick, stylish edits without complicated processes.
- Shotcut: A strong free option, particularly for Windows users. It has a surprising range of features, though its interface may take some getting used to.
- InShot (for mobile editing): Ideal for creators who prefer mobile editing, especially for quick cuts and social media videos.
Each of these tools has unique strengths and quirks, so choosing one really depends on your goals, budget, and editing experience. As many YouTubers would say, it’s all about finding the software that makes editing your video feel effortless.
How to Choose The Right Editing Software?

Choosing video editing software as a YouTuber can feel overwhelming—so many options, so many features! Here’s a simple guide to help you figure out what might work best for you.
First, check what your computer can handle. Editing software needs decent processing power and memory to run smoothly.
If you’re using an older laptop, you might want to stick with lighter programs like OpenShot or iMovie. For newer computers, you have more options.
Windows users can run most editing software, while Mac users might want to take advantage of Final Cut Pro’s optimization for Apple hardware.
Be honest about your editing experience. If you’re just starting, complex software like Premiere Pro or DaVinci Resolve might slow you down.
Begin with simpler programs that let you learn the basics. Many creators start with iMovie or CapCut, then move to advanced software once they understand editing fundamentals.
Look for software with good tutorials and a supportive community that can help you learn.
Different types of videos need different editing features. Gaming content creators often need software that handles screen recordings well.
Vloggers might want simple cutting tools and basic effects. Tutorial makers usually need good text tools and screen capture features. Match the software to your content style to avoid paying for features you won’t use.
Good editing doesn’t require expensive software. Free options like DaVinci Resolve offer professional features without cost.
If you’re making money from YouTube, consider subscription-based software like Premiere Pro. For occasional editing, a one-time purchase like Final Cut Pro might save money in the long run.
Remember to factor in costs for plugins or extra features you might need later.
Almost every editing software comes with a trial period, and it’s the best way to dip your toes in without a commitment.
Take advantage of free trials for programs like Adobe Premiere Pro and Final Cut Pro, or try the free version of DaVinci Resolve. Test out different features and see which ones make your editing workflow feel effortless.
Think about where your channel is heading. If you plan to create more complex videos in the future, choosing software that can grow with you makes sense.
Look for programs that offer advanced features you can grow into, rather than starting with basic software you’ll outgrow quickly.
Tips For Getting Started

Getting comfortable with new editing software takes time, but these tips will help you start on the right foot and avoid common frustrations.
Keep your first few videos simple. Focus on mastering basic cuts, transitions, and text overlays before trying complex effects. Even big YouTubers began with simple edits.
Work on short videos first – this lets you practice the fundamentals without getting overwhelmed. As you get comfortable with basic editing, slowly add new techniques to your videos.
Learning keyboard shortcuts might seem boring, but it’s worth the effort. Most editing tasks that take two or three clicks can be done with one keystroke. Start with the basics like cut, copy, paste, and undo.
Print out a shortcut cheat sheet and keep it near your desk. Within a week, you’ll notice your editing speed improve significantly. This saves hours of editing time in the long run.
Free learning resources are everywhere. Start with the official tutorials for your editing software – they often cover features you might not discover on your own.
YouTube itself has countless editing tutorials from experienced creators. Pick tutorials that match your skill level and content type. Save helpful tutorials in a playlist so you can refer back to them when needed.
Good file management prevents headaches later. Create separate folders for your raw footage, audio files, images, and exported videos. Name your files clearly with dates and descriptions.
Keep your editing timeline organized by color-coding different types of content like main footage, B-roll, and audio. This structure becomes crucial as your projects get more complex.
Nothing’s worse than losing hours of editing work. Save your project files regularly – most software has auto-save features, but don’t rely on them completely.
Keep backups of your raw footage and finished videos on an external drive or cloud storage. Get in the habit of creating project backups before making major changes to your timeline.
Connect with other editors and creators using the same software. Facebook groups, Reddit communities, and Discord servers are great places to ask questions and learn tips.
Many editors share their workflows and solutions to common problems. These communities can help you solve editing challenges and learn new techniques faster than figuring everything out alone.
Editing for long stretches can lead to eye strain and decision fatigue. Take a 5-10 minute break every hour. Step away from your screen, stretch, and rest your eyes.
Come back with fresh eyes – you’ll often notice things you missed before. This helps maintain quality and keeps you productive during long editing sessions.
Remember: Everyone starts somewhere. Even the most skilled editors began with basic cuts and transitions. Focus on improving gradually rather than trying to master everything at once. Your editing skills will grow naturally as you create more videos.
Conclusion
Choosing the right editing software for your YouTube videos comes down to your specific needs, skills, and goals.
Whether you start with free software like iMovie or invest in professional tools like Premiere Pro, remember that great content comes from understanding the basics and using them well.
Most successful YouTubers didn’t begin with expensive software or complex editing techniques. They started simple, learned the fundamentals, and upgraded their tools as their channels grew. What matters most is picking software you’ll actually use and feel comfortable learning.
Remember: The software doesn’t make the video – you do. Even simple editing software can create engaging content when used effectively.
Focus on telling your story well, and let your editing skills grow naturally with your channel.
You can also decide to use a YouTube editing service like Your Video Editor as they already have most of this software paid for with expert editors to go with it.
